Serverless Telegram bot

You don’t even think to call me Godfather. Instead, you come into my house on the day my daughter is to be married, and you uh ask me to do murder, for money.
Hello everybody, Chillaso is back! In this difficult days we’re living during COVID-19 I feel information necessity, but I was bored searching for graphs, news and so on… so I decided to fetch that information automatically, or as I’m going to show you, semiautomatically. Let’s see how create a Telegram bot using Serverless Framework, and some good libraries as Bent or Cheerio for NodeJS, the language we’ve decided to use for AWS Lambdas(the cloud environment).
Index
- Environment installation
- Coding our function
- Serverless configuration
- Creating a Telegram bot
- Deploying and linking back-end
- Conclusions and resources
Environment installation
Serverless philosophy let us be agnostic of cloud and language, this is a big potential because we can decide what language is better for what solution. I’ve decided to use Node.js because two reason. First one is because I want to learn more of javascript and was so bored of web javascript, I need in my life backend javascript, thanks god for Node.js. The second one is because I wanted some fast to develop, and my Golang skills are too basic right now, so the time to develop would be so long.
Well, let start from a very basic installation. First at all, we’re going to install NVM, a version manager for Node, I like it because it’s very easy to install and let us change node versions very easily.
As you can read in their github page, just install running the install script.
1
2
3
curl -o- https://raw.githubusercontent.com/nvm-sh/nvm/v0.35.3/install.sh | bash
export NVM_DIR="$([ -z "${XDG_CONFIG_HOME-}" ] && printf %s "${HOME}/.nvm" || printf %s "${XDG_CONFIG_HOME}/nvm")"
[ -s "$NVM_DIR/nvm.sh" ] && \. "$NVM_DIR/nvm.sh" # This loads nvm
NOTE: If you are using zsh or other terminal, check in your .zshrc if you have the export you’ve just run.
Now, install a stable node version, usually your cloud provider support the latest stable version, but check it out in order to verify version you’ve to install.
1
nvm install node stable
And now it’s time to install Serverless
1
npm install -g serverless
Create the project and install serverless offline a very useful plugin to run your function in localhost.
1
2
3
sls create --template aws-nodejs --path sls-telegram-bot
cd sls-telegram-bot
npm install serverless-offline --save-dev
Coding our function
Our handler.js is going to be our entrypoint. We are going to see my backend logic, if you don’t mind about this point, just jump to serverless configuration section. Here I’m going to show how crawl a web with cheerio, and do http request with bent. Don’t jump the part of telegram code, how to manage message and send it.
Telegram module and managing messages
Let’s see our telegram entrypoint, this is where the telegram bot event is received and processed. But not the real entrypoint, this is my telegram.js file.
1
2
3
4
5
6
7
8
9
10
11
12
13
14
15
16
17
18
19
20
21
22
23
24
25
26
27
28
29
30
31
'use strict'

const bent = require('bent')
const constants = require('./constants')
const utils = require('./utils')

class Telegram {

    constructor(chatId, command) {
        this.chatId = chatId
        this.command = command
    }

    async sendMessage(text) {
        let chat_id = this.chatId
        const get = bent(200, 400);
        const response = await get(constants.SEND_MESSAGE_URI, {chat_id, text, parse_mode: "HTML"});
        if(response.statusCode == 400)
        {
            let error = await utils.getBuffer(response).then(JSON.parse)
            console.error(error.error_code, error.description)
            text = constants.ERROR_MESSAGE
            await get(constants.SEND_MESSAGE_URI, {chat_id, text, parse_mode: "HTML"});
        }
    }
}

module.exports.getCommand = (event) => {
    const { chat, text } = JSON.parse(event.body).message
    return new Telegram(chat.id, text)
}
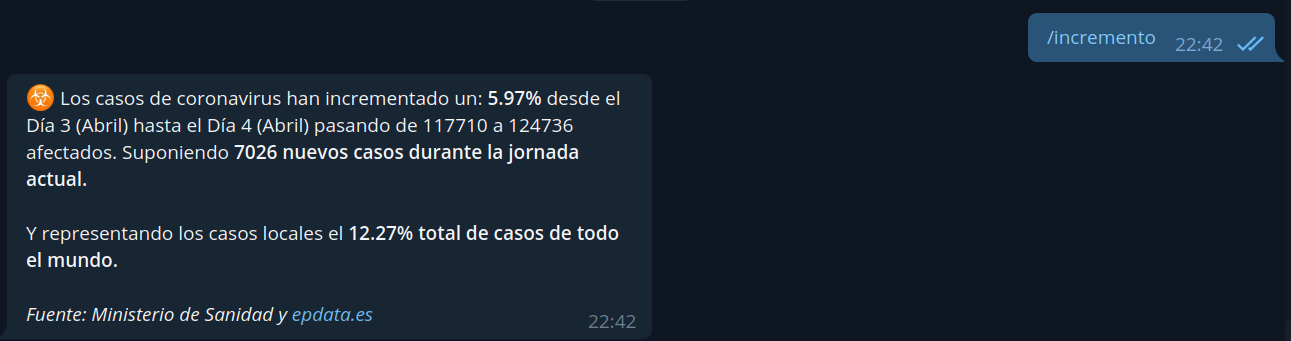
getCommand function is the first function called, parse event.body and get message object, it return chat and text objects. Chat contains the id of telegram chat, very important because we’re going to need it later to send message. Text is the text or command we’ve send it in telegram app. So if I’ve defined /increment command for my bot, text would be exactly /increment.
sendMessage is an async function (sync indeed because of await) which let us send message to Telegram API, managing some possible errors. The most interesting here is
1
const response = await get(constants.SEND_MESSAGE_URI, {chat_id, text, parse_mode: "HTML"});
parse_mode:"HTML" let us send message as HTML, but take care because HTML supported is very closing. You can get more information about supported HTML here.
Entrypoint function
Let’s see the real entrypoint our, handler.js
1
2
3
4
5
6
7
8
9
10
11
12
13
14
15
16
17
18
19
const getMessage = async (command) => {
	switch(command)
	{
		case '/increment':
			return await increment.getIncrement()
		default:
			return constants.HELP_MESSAGE
	}
}

module.exports.covidApp = async event =>
{
    let telegram = telegramService.getCommand(event)

	await getMessage(telegram.command)
	.then(message => telegram.sendMessage(message))

	return {statusCode: 200}
}
Easy, uh? It’s very important return {statusCode:200} or whatever code when finished, if you don’t do it properly your lambda function would never finish and you would have to prepare your credit card to be fucked.
At this point we have a module, telegram.js, which handle parsing telegram event and send message callback to our telegram bot. In the other hand we have our handler.js entrypoint which runs as a controller in a MVC architecture and return success code when finished. Simple as that, we’ve our backend finished
Serverless configuration
Now we’re going to see required configuration in order to deploy our backend. sls create command create a serverless.yml file, THE MAGIC FILE. This is his content:
1
2
3
4
5
6
7
8
9
10
11
12
13
14
15
16
17
18
19
20
21
22
23
24
25
26
27
28
29
30
service: covid-increment-sls
package:
  exclude:
    - README.md
custom:
  myStage: ${opt:stage, self:provider.stage}
  myEnvironment:
    TELEGRAM_TOKEN:
      prod: ${env:TELEGRAM_TOKEN}
      dev: ${env:TELEGRAM_TOKEN_DEV}


provider:
  name: aws
  runtime: nodejs12.x
  stage: dev
  region: eu-west-1
  environment:
    TELEGRAM_TOKEN: ${self:custom.myEnvironment.TELEGRAM_TOKEN.${self:custom.myStage}}

functions:
  covid:
    handler: handler.covidApp
    events:
      - http:
          path: covid
          method: post
	  cors: true
plugins:
  - serverless-offline
An important point here is:
1
2
3
provider:
  name: aws
  runtime: nodejs12.x
Here define your cloud provider and your runtime environment. Another important point is:
1
2
  environment:
    TELEGRAM_TOKEN: ${self:custom.myEnvironment.TELEGRAM_TOKEN.${self:custom.myStage}}
Here we are setting our
TELEGRAM_TOKENvariable, which let us point to our bot, we’ll see more abot this later.
1
2
3
4
5
6
7
8
functions:
  covid:
    handler: handler.covidApp
    events:
      - http:
          path: covid
          method: post
	  cors: true
Here we are defining a
covidApi Gateway which has a handler found it in handler.covidApp function and accept a HTTP POST in http://your-api-endpoint/covid path.
This isn’t a big important part of our develop, but it’s very interesting has at least 2 environments deployed, which means 2 telegram bots, which means 2 telegram tokens. So to manage this we create two different deployment configuration, prod and dev and do it possible thanks to Serverless Variables.
1
2
3
4
5
6
custom:
  myStage: ${opt:stage, self:provider.stage}
  myEnvironment:
    TELEGRAM_TOKEN:
      prod: ${env:TELEGRAM_TOKEN}
      dev: ${env:TELEGRAM_TOKEN_DEV}
If we want to deploy our function in
dev stagewe runsls deploy --stage dev
Creating a Telegram bot
This step it’s very simple, just open Telegram and search for @BotFather
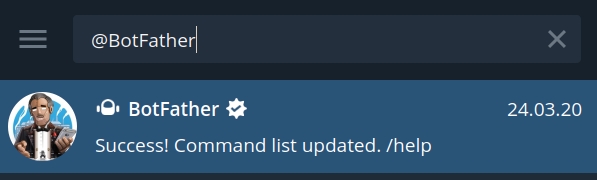
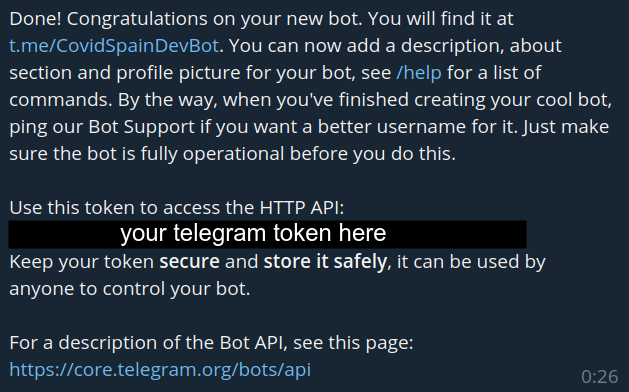
Type /newbot and follow the instructions:

Copy your telegram token and export it in your console, or export in .bashrc or .zshrc as TELEGRAM_TOKEN
Now open your code and in whereever you want create a constant like this
1
SEND_MESSAGE_URI: `https://api.telegram.org/bot${process.env.TELEGRAM_TOKEN}/sendMessage`,
Actually, Serverless is who is going to set TELEGRAM_TOKEN depends on the stage you are deploying your function as we have seen in serverless.yml configuration.
Deploying and linking back-end
It’s time to deploy, we have our bot created and our telegram token, we have our function and our serverless configuration… but… what happen with AWS? Let’s see how do a minimal configuration to deploy serverless functions, very simple. Let’s go to AWS console > IAM > Users.
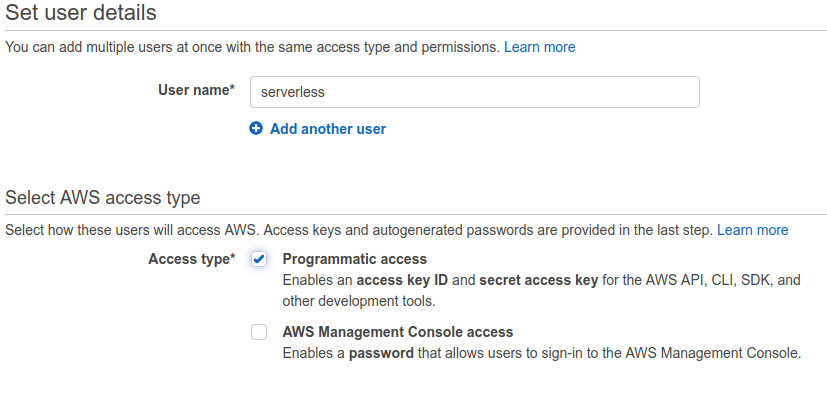
Create an user with programmatic access and download his credentials. Then, create, if you don’t have yet, .aws folder in your home directory. Go into it and create credentials file. You’ve to write something like this:
1
2
3
4
[default]
aws_access_key_id = ACCESS_KEY
aws_secret_access_key = SECRET_ACCESS_KEY
region = eu-west-1
If you are a bit confused with this, check AWS official guide to create an user and configuration and credential file setting.
It’s deploy time! First you have to deploy your function with
1
sls deploy --stage dev
This will output something like this:
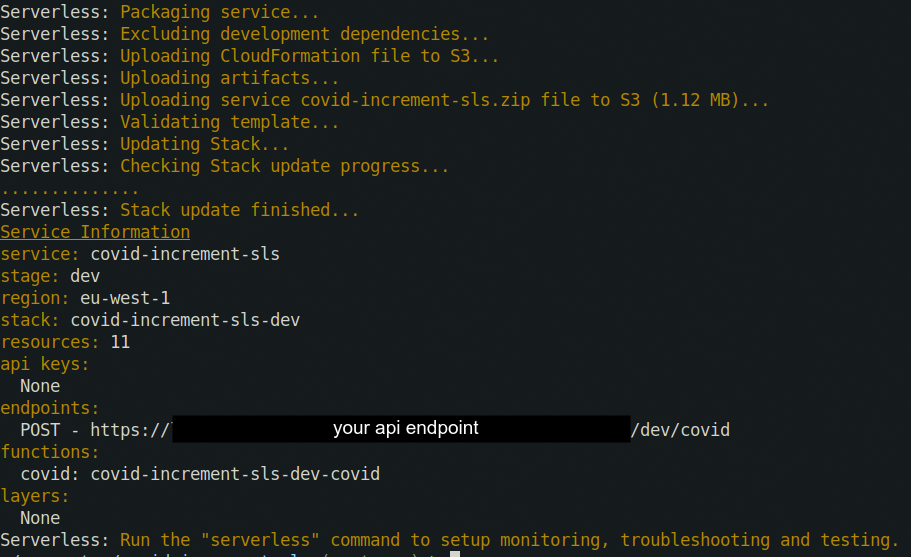
As you can see Serverless create a lot of things under the hood, using services like CloudFormation, API Gateway and S3.
Now copy your entrypoint URL and attach to your telegram bot, let him know where your backend is running this:
1
curl --request POST --url https://api.telegram.org/bot$TELEGRAM_TOKEN_DEV/setWebhook --header 'content-type: application/json' --data '{"url": "https://your-api-endpoint/dev/covid"}'
you’ll get something like
Test your bot!
Conclusions and resources
Well, thanks for reading until final. We’ve learned how to deploy a serverless function to AWS and attach to Telegram Bot. There are a lot of missing details like creating telegram commands, the backend code and an AWS deployed services. It was a very basic guide of deploying function fast and easy, from this point we can improve a lot of our code or use more AWS services as DynamoDB which let us store chat.id variable to send laterly messages to all chat who started our bot, making “subscription bots” possible.
You can find my Covid project here it’s very very basic, and probably there are a lot of errors, but it’s for personal use and as a proof of concept, perhaps I’ll improve it and learn more things about it or migrate it to Golang.
If you want to contribute to COVID telegram bot, don’t think it so much, do it, I’ll appreciate it so much :)
I hope you enjoy and have learned something, thanks you so much for reading,
See you soon, exit(0);